Yep, pretty much exactly that. It’s embarrassing to say, but every time I benchmark the engine against something visually or in terms of performance, it takes hours. But I will attempt, at least a little 
Lighting is not standardized, cameras are not standardized, GLTF support is all over the place (pretty much everyone implements materials differently, and geometry too in subtle ways).
The problem with engines like playcanvas and babylon in particular is that their support for things like post-processing and GI is spotty.
playcanvas has lightmaps, I haven’t tried the implementation, but this is largely incumbent on the user to supply properly UV-unwrapped models. And lightmaps are flat, there is no specular response. As far as brdf goes - it’s pretty middle of the road, last I checked, not cutting-edge, but nothing incredible either.
babylon keeps re-inventing itself, new features pop up and die, currently there is a plethora of exciting features, like:
- Reflective Shadow Maps
- IBL shadows
- SSR (screen-space reflections)
The problem is in support and integration. If you say “okay, I like all of the above, can I have this?” the answer would be “no”, each technique works in isolation, without being aware of the others. And you can’t just mix them, sadly.
Then, there’s the question of AA (anti-aliasing). Once you go for any kind of post-process, you pretty much are forced to throw away MSAA (native AA)
Case and point, here’s the reflective shadowmap demo from babylon:
If we zoom in a bit, we start to see artifacts
If we disable FXAA, which is a pretty horrible AA to begin with, we get to see what we’re working with:
Which is jagged
Let’s take a look at the SSR example
Again, let’s zoom in a bit
I’m not even sure what exactly they do here, but the aliasing is bad, reallly really bad. If you’re in doubt, consider that the rims have have sharp lines going radially
In the screenshots above they are completely distroyed, and under slightest camera motion there’s just a mess of pixels in there.
Now, with all that, there is a solution, and that’s TAA, however, TAA is an intrusive technique, it requires your entire rendering pipeline to be aware of TAA. Here’s babylons:
I won’t bore you with details, but it’s not a good implementation. Solid TAA is hard to do, now I’m stupid, so it took me collectively over a year to tune it to what it is currently in Shade, but even for smart people it’s a very hard problem to solve. And I dare say that I have solved it. And I can say with confidence that Babylon.js - did not.
Where does this bring us. Can something like playcanvas look as good as Shade? - without static solution like lightmaps - no. With lightmaps, close, but only for fully diffuse (roughness = 1) materials. And only for fully static scenes. Once you start having some specularity in the scene - reflections will be very apparent and will dominate your perception.
Can babylon.js look as good as Shade - no. You can import lightmaps and be in the similar situation as playcanvas, you can add SSAO (which is not very good in Babylon), you can add SSR and IBL shadows and TAA and RSM, then you’ll need to spend a long time integrating all of these to produce 1 sensible image output, and then… then you will still not be there, because there is no light bounce.
I can say with certainty that Unreal looks better than Shade, but Unreal looks better than everything else
I wrote Shade from gound up targeting top-of-the-line visuals, so it’s not exactly fair to compare Shade with the likes of playcanvas of Babylon.js just on that ground alone. Shade was written as a deferred renderer from the start, with TAA integrated from the start, with indirect lighting being a major part of the engine as well as post-processing.
It’s not even that I playcanvas or babylon, or even three.js don’t look as good as something else, like Shade or Unreal or Unity HDRP - it’s more that they can’t. They can’t compete on the high-end visuals because of the architecture of the engine itself.
You can certainly build something on top of, say, three.js, that will look as good as Unreal. Seriously - you can. It would be hard work, but you could. You would be fighting the architecture along the way, and you just might be better served writing it from scratch.
It may sound bitter, but that’s 100% not the intention. I’ve been there, I’ve been writing that exact renderer on top of three.js for about a decade I suppose, and Shade is just that natural next step. Where I said to myself “WebGPU is a good-enough reasons to start from scratch”, and I happened to have the time.
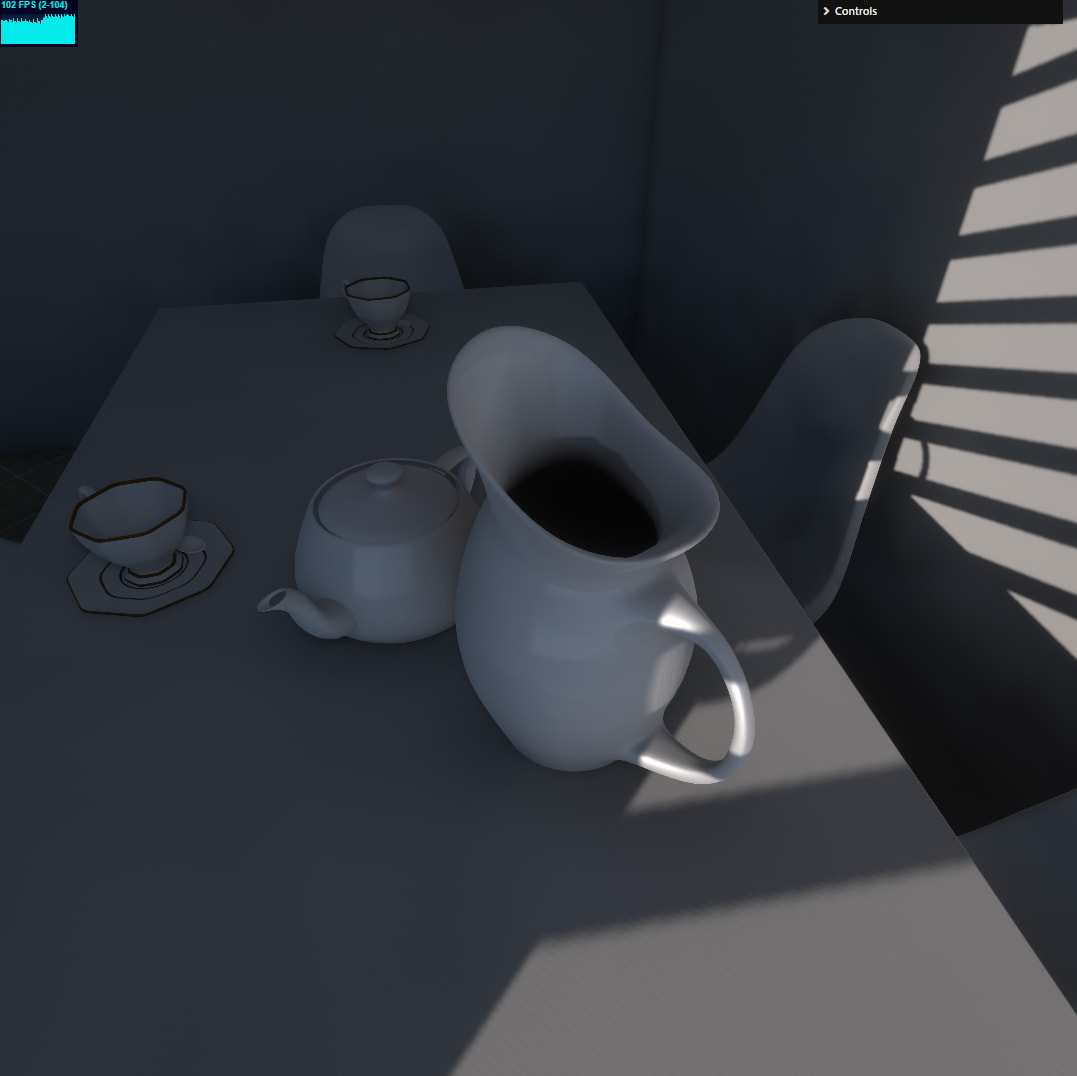
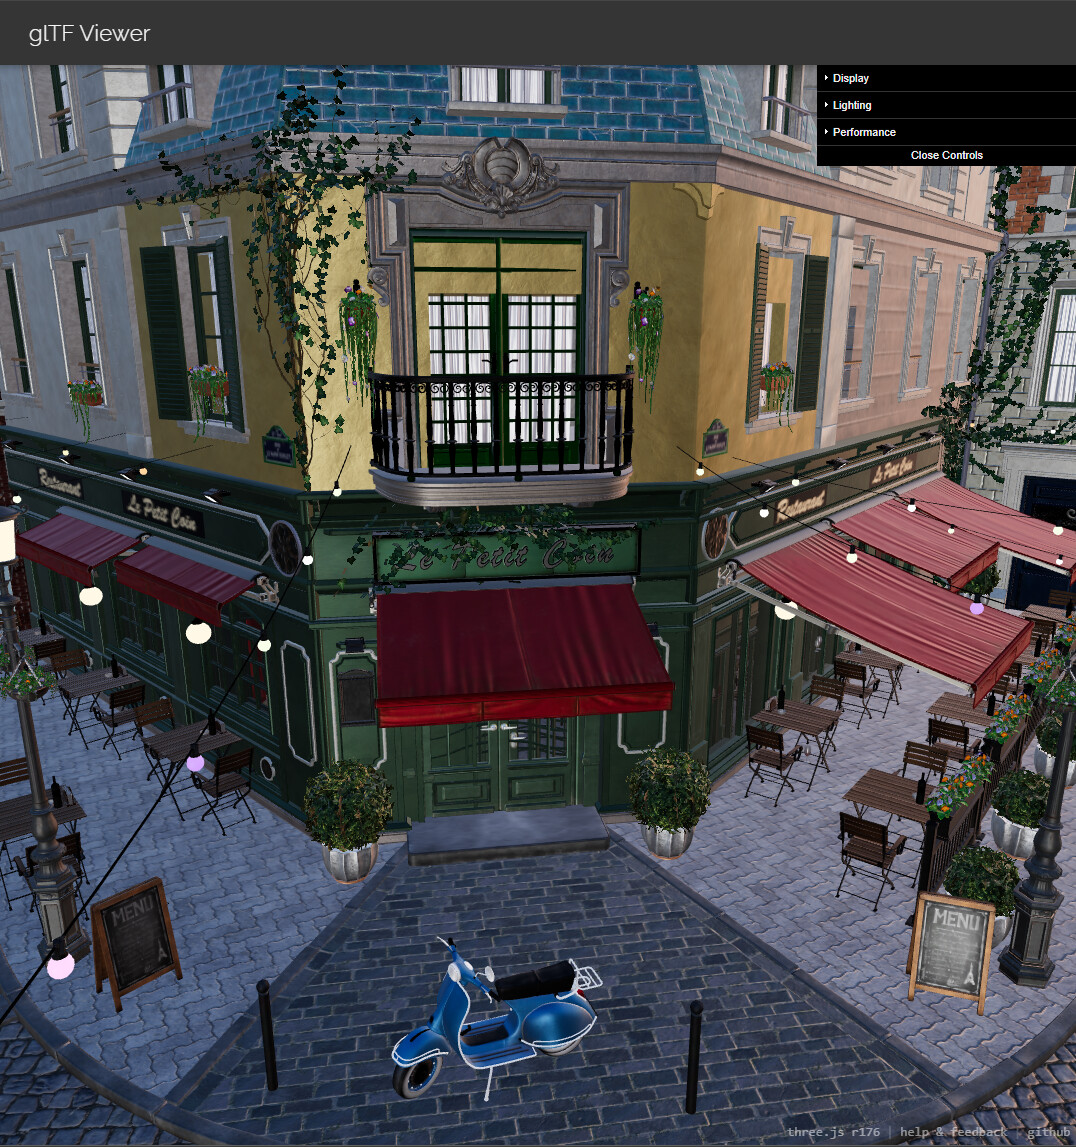
To leave something a bit more tangible, here are 3 GLTF viewers from 3 respective engines:
three.js
Babylon.js
playcanvas
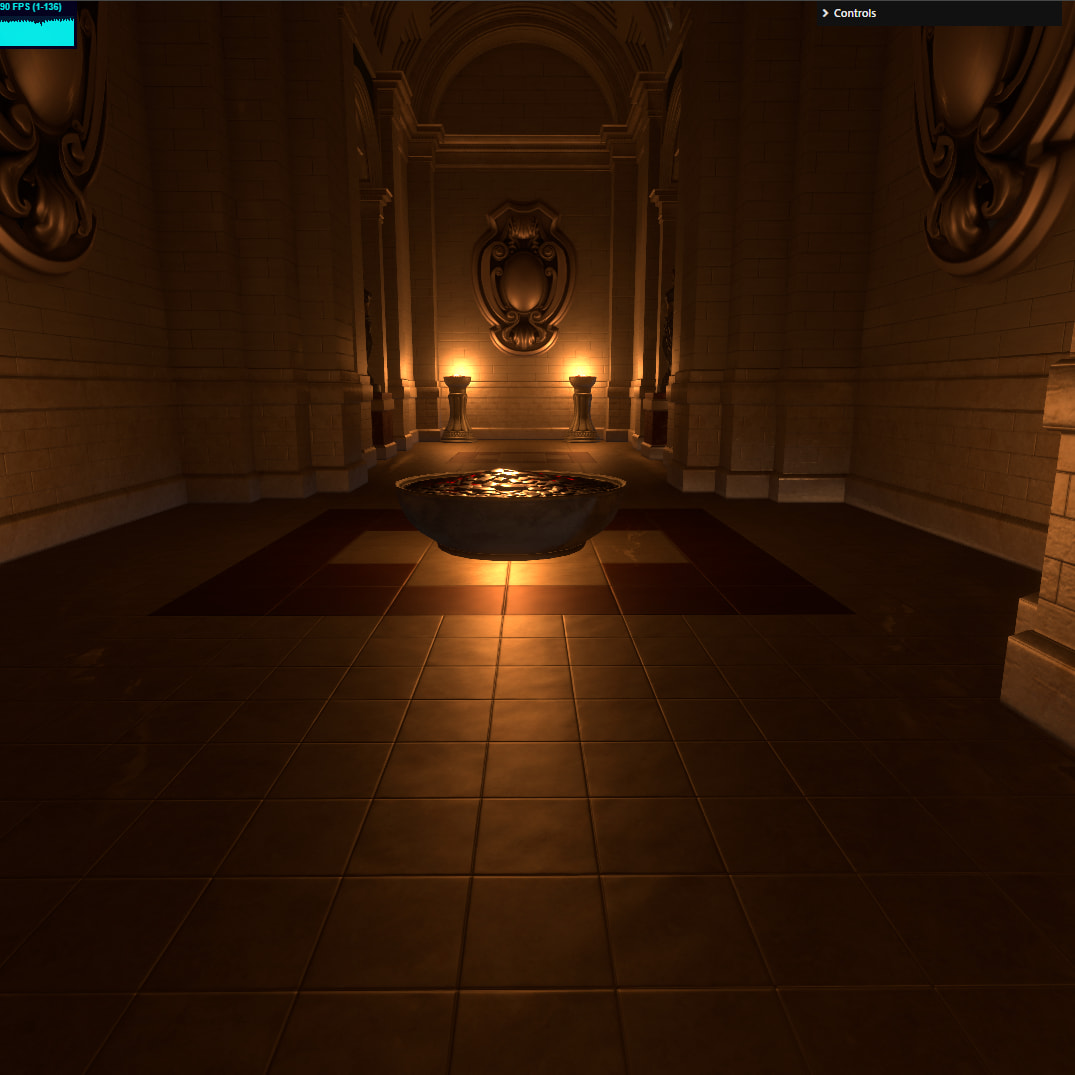
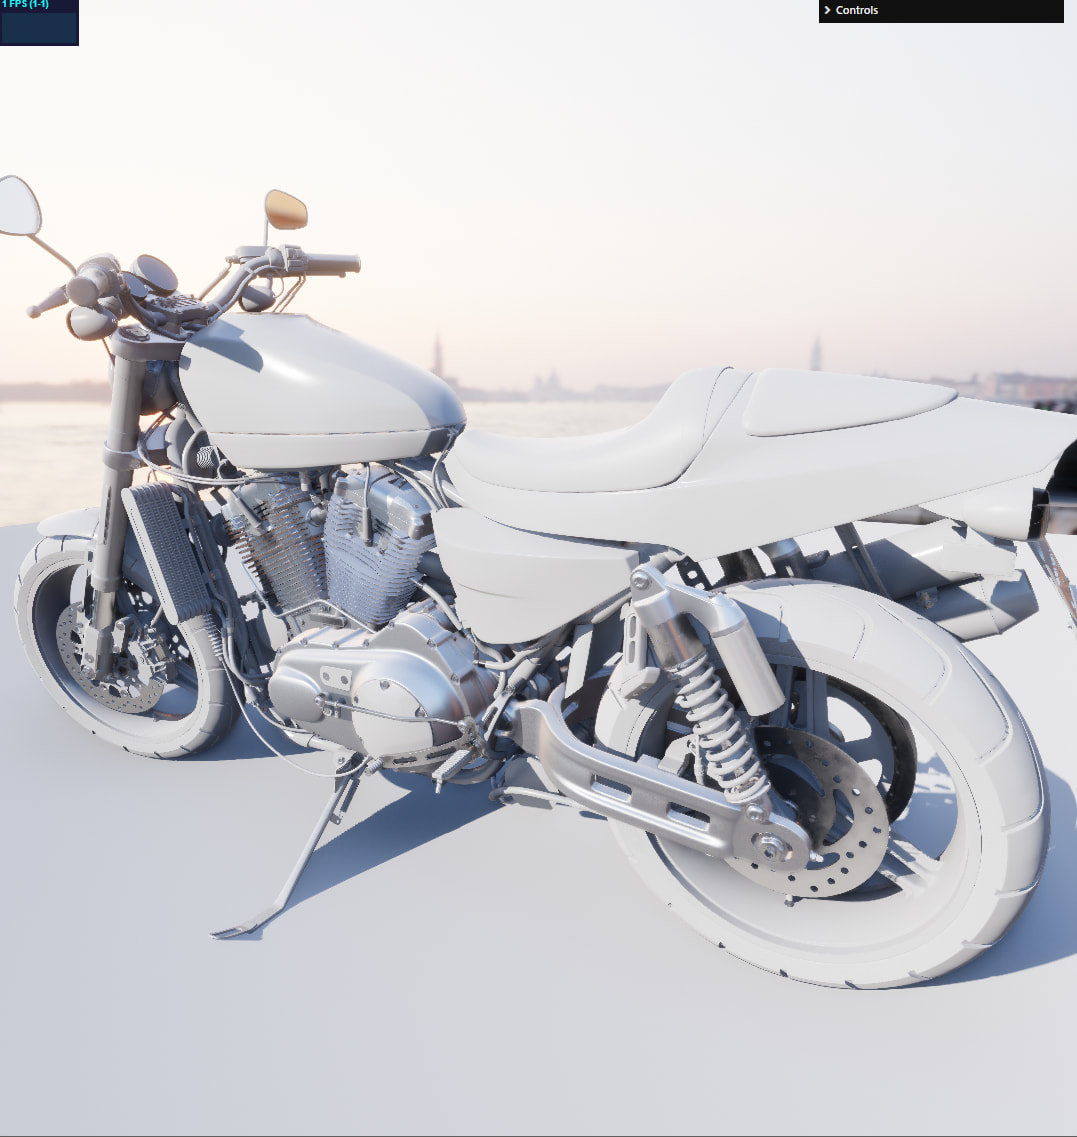
And here’s Shade
There are different FoVs, the lighting setup differs etc. But these are all “defaults”. I.e. I didn’t do anything special in shade, I just loaded a GLTF and positioned the camera, shadows are automatic, GI is automatic, all post-processing is dynamic. There is no manual tuning.


")