Gentle Light Probing

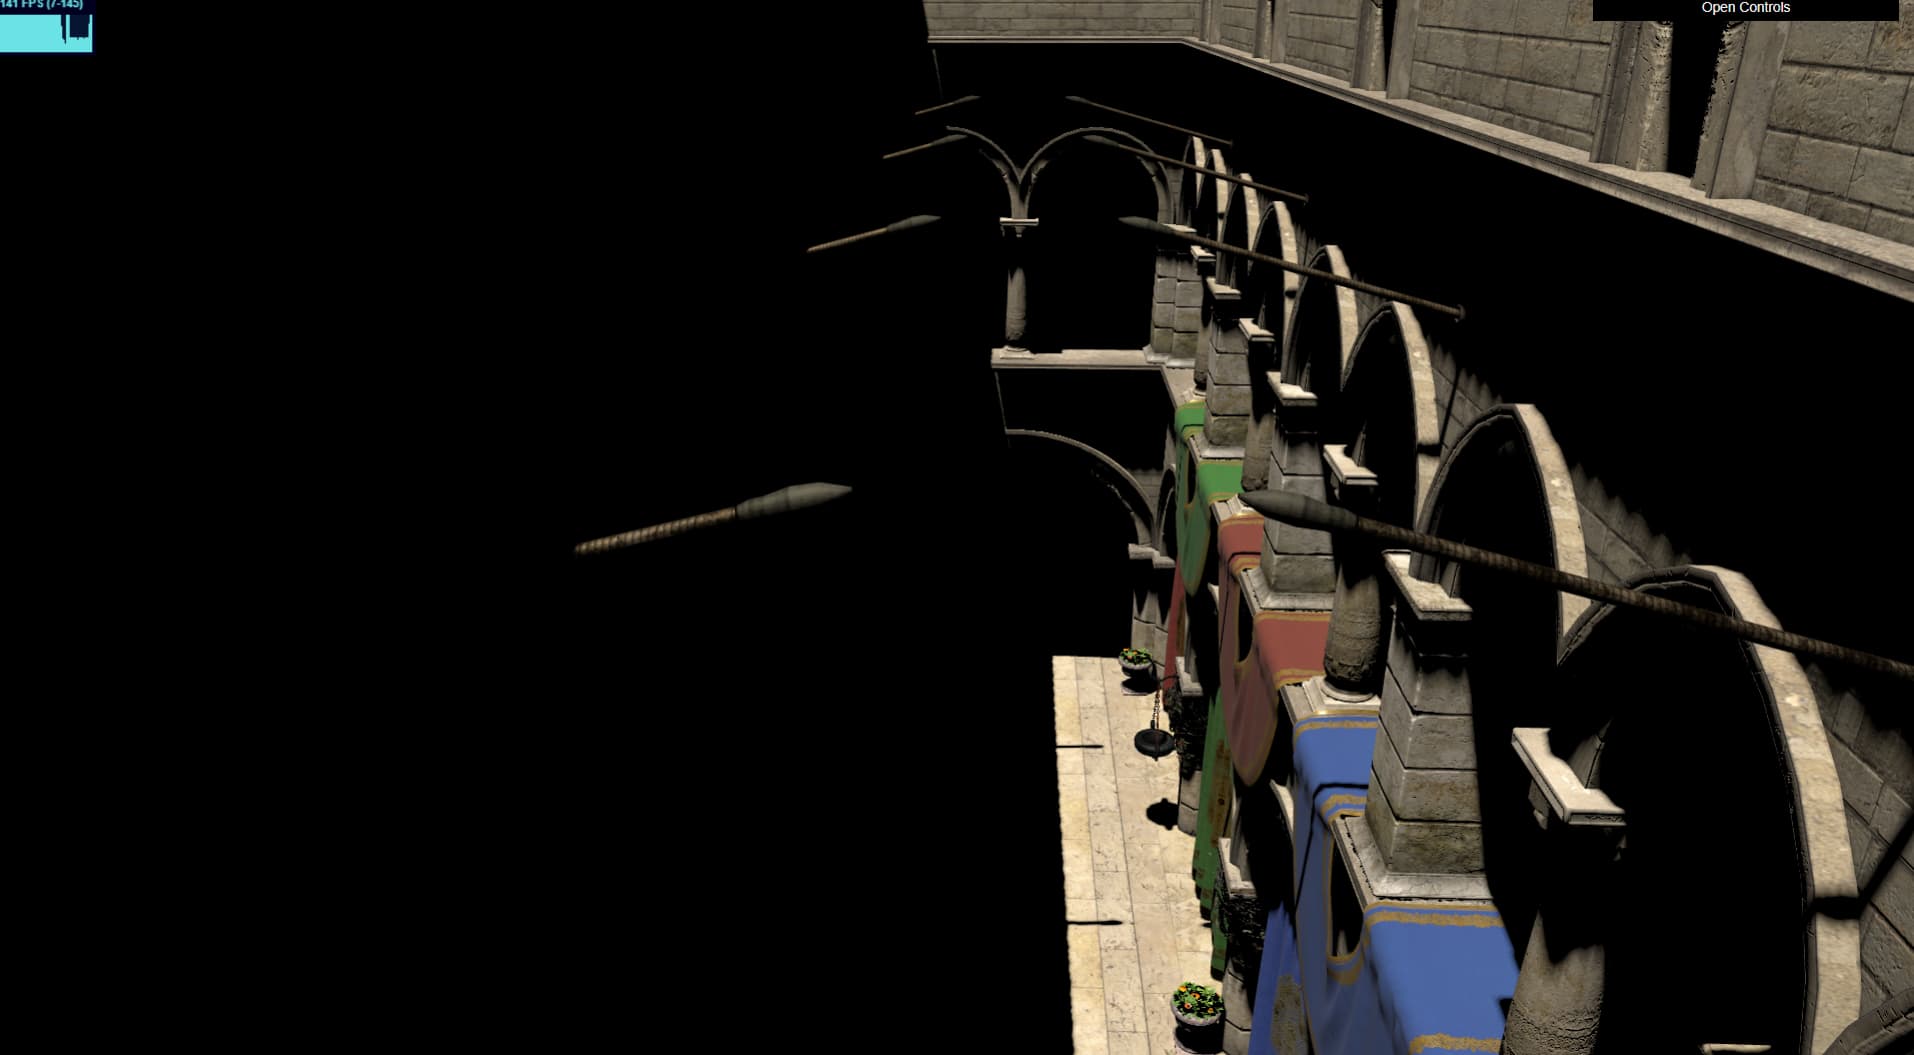
Someone said that a film must start with an explosion. This is not a movie, so here are some pictures instead for motivation:


[source]

[source]

[source]

What are we seeing here? - Global illumination is the short answer.

Global illumination is something we’ve been striving for since long ago.

Light maps

We’ve had light maps for a while now:


[source]

Raytracing

Recently we’ve been sold on a promise of ray tracing with the likes of DirectX Raytracing and alternatives in Vulkan, OpenGL and the like. Much to everyone’s disappointment - that tech didn’t magically give us global illumination, although it did make our lives easier and made it possible to trace a handful of rays per-pixel per-frame.

Screen-space AO

As an honorable mention, around 2007 Vladimir Kajalin of Crytek introduced us to SSAO
image
[source]
SSAO was so good in fact that it’s staple in pretty much every game released since then and is considered to be a standard feature by now. However, it lacks the “global” part. The shading is only applied from things that are on screen, and worse still - from the G-buffer, meaning that there is no global contribution and it’s little more than a fancy trick that looks quite convincing to the eye. One very important point to highlight here - SSAO then and now works by tracing rays, those rays are traced (well, marched really) in screen-space and not using geometry, but nevertheless - it is raytracing. So that Raytracing that we mentioned earlier? - it’s still helping us speed things up even in areas that most of us don’t think of as being related to Raytracing.

Light Probes

Around 2008-ish times, a new kid on the block appeared - spherical harmonics :rainbow: ! This is basically a mathematical notation for encoding directional data. We compute how much and what color of light is coming from each direction and record it using just a few floating point numbers, depending on the base of the function - it can be as low as 1 for base-1 function or 9 floats for base 3 function all the way up to infinity.

Let’s back up a bit for the sake of completeness. If you disregard spherical harmonics - the concept of recording directional light contribution from a point in space is much older than 2008, it dates back all the way to 1976.

So what’s different about “light probes” when compared to “environment maps”? In short - memory usage and sampling complexity.

Details

An environment map is a cube texture (that’s 6 textures for every side of a cube) with some resolution, let’s say something low like 32 x 32 pixels per side, that right there already requires 32 * 32 * 6 = 6144 pixels to be stored. We can drop this to something smaller, like 4x4 pixels per side, which nets us 96 pixels, but at that point there is hardly any directional data in there, and you lose a lot of directional resolution further away from the edges of the cube.

How does this compare to base-3 spherical harmonics (from here on referred to as sh3)? They require just 9 numbers to encode. For comparison, the cube map would need to be 1x1 to beat that, the next best thing you can do is 2x2 cubemap, that would already take 24 numbers, that’s 2.6x more than sh3.

Now to actually sample the data from each, for cubemap there is potentially a win at large sizes as you can analytically figure out what pixel(s) to read and just read that, whereas for spherical harmonics you need to evaluate the entire function with all parameters. So as the fidelity gets higher and higher, cubemaps tend to win in terms of amount of compute you have to do. What about lower sizes? Well, if you have a cubemap that’s 2x2 - you would need to read at least 4 pixels generally for linear sampling to work, beyond that I’m not sure what the hardware does, but I’m guessing there are a number of dot products happening under the hood (multiplications + additions) to project the direction vector onto each side to figure out which pixels to sample. Then the actual linear interpolation has a number of multiplications and additions. Compared to that sh3 has around 15 mandatory adds and just 10 additions, regardless of direction being sampled and there are no branches.

So here we are, light probes. In modern engines and applications - we expect to be able to use 100s if not 1000s of probes. Here’s a screenshot from Infamous with and without light probes:


For reference, in the same game they used ~468,000 light probes for the whole world with ~18k-56k per “block” (world tile). The entire world data took up ~25Mb of storage raw. That’s a lot of probes for even back then. In their own words, if they used light maps, it would have taken ~12Mb per block just for the UVs alone, not taking textures into account. Needless to say that’s a huge saving in space.

The Thing

Finally, we’re getting close to the main point. Light probes offer a very cheap and compact solution to global illumination. Beyond that - they offer a solution that extends into 3 dimensions. Where light maps only record light on the surface, light probes record data in 3d space and can be used to apply lighting in real-time. If you imagine that market scene above and imagine a guy running through that market, as he dips in and out of the shaded areas - he would automatically get shaded darker or lighter from light probes there. This is not something you can get from light maps at all.

So here I was, having read a bunch of papers about a bunch of awesome games made by awesome people, and I thought to myself… You can do it too, how hard can it be? I can even understand most of the word in those papers and presentations - that’s practically 90% there, all that’s left is to write a couple of lines of code and boom!
Well, it turns out I was just a little bit optimistic, it took me a better part of the year working in spare time to get tetrahedral light probe meshes working.

Here are a couple of screenshots from my testing environment:


(view from the bottom, so you can see the colored texture on top to give some nice color variation)

A few more probes

Random distribution

and just to show that we can handle a fair number of probes, here are 100,000 randomly placed (the house is somewhere in there, trust me, trust me):

The key thing that took me all this time has been tetrahedral mesh generation. It’s the thing that creates little pyramids connecting 4 nearby probes together. I was a bit surprised when I couldn’t find tetrahedral mesh generation libraries for JS, and I was disappointed when I tried to port existing libraries like Tetgen and cgal to JS as they really don’t map well to JS. Trying to wrap them in WASM produced a lot of overhead at the interface level and added a few Mb to the size of the engine. In the end, the generator I wrote is state-of-the-art, quite small (around 16Kb of uncompressed JS) and is pretty snappy, the 100,000 point mesh was generated in 2s. The generator is incremental as well, which means that it lets me add/remove points without having to rebuild the entire mesh, so editing light probe mesh at runtime becomes possible. All that is to say I’m pleased with what I ended up with.

Numbers

Tetrahedral mesh (100,000 points, 669340 tets) build took 2057.6ms
Baked 100,000 probes in 294668ms, ~2.95ms per probe

Here’s sponza:


Summary

Tetrahedral mesh (10,080 points, 52080 tets) build took 507.3ms
Baked 10,080 probes in 59210.4ms, ~5.87ms per probe

Where are we now then? Well, I think that the probes the way they are baked by me now are a big buggy, and I’d like to move the whole baking process over to raytracing so I can get more than 1 light bounce as well as to be able to do baking inside workers. I haven’t done any work on actually using the probes either. The idea is to sample the tetrahedral mesh per-vertex at least, so we can get very smooth shading transitions across the mesh that sample more than just 4 probes per mesh. Then there are various tricks to do with visibility computations, to prevent us from sampling probes that are, say, behind a wall and should not be contributing any light. I’d also like to explore a solution for automatic probe placement. The whole point of building tetrahedral meshes from arbitrary set of points is to be able to sparsely populate the scene with probes, placing more probes around color/light transition boundaries, such as edges of shadows, various sharp corners of large meshes and stark texture color transitions. That’s a whole another story though.

Hope you found this interesting!

Credits

  • I found @donmccurdy 's work incredibly useful as a base for light probe stuff.
  • Célestin Marot, he was kind enough to walk me through some of the confusing parts of tetrahedral mesh generation which helped a ton.
  • Michał Iwanicki and Peter-Pike Sloan for the incredible detail they provided in their various presentations as well as all of the supplementary material they published on the web.
18 Likes

Nice write up, thanks for sharing. Easily usable and performant light probe volumes is something I am excited to see coming to three.js.

Do you have any examples or code that I can look at?

How does your implementation differ from @donmccurdy’s?

1 Like

Heya, that’s a good question. That solution only generates a tetrahedral mesh on a grid. This means that points can not be offset (much) from the grid. If you’re doing it this way - you might as well go for a 3d texture where coordinates are implicit. There are a few implementations like that around. Nothing wrong with it too. The beauty of using a tetrahedral mesh is to be able to put more probes in some places and fewer in others and let the mesh fill out the space in-between.

Just to make sure it’s clear. What @donmccurdy has done will place points on a 3d grid, and connect them in groups of 8. This is a lot like the difference between triangulating a 2d shape into a set of triangles and creating a subdivided plane. Both are technically triangulated, but one is a lot more versatile than the other.

This is not a criticism against @donmccurdy . I actually thought that his solution was quite elegant, solve a simpler problem and focus on light probes instead of trying to solve the hard problem that doesn’t have so much to do with the probes themselves. His solution is some 50 lines of code for mesh generation, whereas mine is several thousand lines in total including various support classes, tests and assertions. His code is way faster too potentially, as it doesn’t need to consider the space so carefully, from the problem statement alone - it’s guaranteed that space between 8 points is going to be clear of other tetrahedrons.

Hope that helps. By the way, this is the reason why I added a couple of screenshots with random point placements, to try and highlight this difference.

1 Like

Ight, in terms of light / surface probes, ima just leave this bad boy here:

SIGGRAPH 2021: Global Illumination Based on Surfels

(idk how feasible that’d be with WebGL, since it seems like it has to be handled 100% on the GPU.)

2 Likes

Oh yeah, surfels have been an interesting idea from SIGGRAPH2021. I don’t think they are viable without raytracing though. You can cram both raytracing replacement and a compute shader replacement on top of WebGL, but it’s really really awkward and slot.

We live in interesting times concerning Global Illumination techniques, there are:

  • lumen by Epic, which is a hierarchical ray-tracing system. It does a mix of screen-space ray-tracing, nearby true ray-tracing and distant material proxy ray-tracing to produce imprecise but really really pretty looking results
  • surfels (mentioned above) by EA that record surface reflection information locally, exploit spatial coherence and have excellent performance scalability
  • cone tracing by NVidia, this one started as a university master’s thesis around 2015 I think, but by now is something entirely different. It was integrated into Unreal pretty much the same year, and lives on even to this day in their global voxel-based ambient occlusion implementation.
  • there’s ReSTIR by Nvidia, which is a more of a spin on traditional importance sampling path tracing.
  • There’s the signed distance fields GI, I don’t know who was the the first to apply SDFs to GI, but a notable example is the Godot’s implementation.
  • there are new takes on lightmapping, such as those introduced by Dice in recent years, that store directional information in the maps and support HDR

I’m sure there’s a ton more that slips my mind at present. Then, obviously, there’s a whole lot of papers on light probes too.

If you ask someone today “what’s the best material model for real time rendering?” - you’d get a fairly stable answer of “metalness, roughness PBR”
If you ask “what is the best primitive for representing 3d objects?” - most will agree that it’s a triangle.
“How to store detailed surface information, such as color?” - use textures.

You get the picture. With the GI - it’s not like that at all, it’s the wild west. All ideas look great and have their pro’s and con’s. (obviously the idea that I promote is the best one though).

reading through the material with wonder, what a difference this makes!


is it even a possibility that something like this will ever be readily usable by a broader audience?

3 Likes

I believe 100% that one day, in not-so-distant future this will be the standard. Just like 3d graphics in general has become democratized, and how PBR is available to pretty much everyone. The fact that “Raytracing” as a technology has made its way into GPU hardware now only proves this, slowly that technology will trickle down into browser APIs and open-source libraries.

My work is not intended to be released as free/open-source, but hopefully someone will benefit from the article and the references.

1 Like

Been trying to find a solution to baking light probes. There is the option of using cube-map approach that @donmccurdy used. However, it has a couple of problems:

  1. It hammers the read-back interface, the part that copies pixels from GPU to CPU. This is in fact so slow that it really kills performance. And we have to do it 6 times per probe, since each cube face is essentially a separate render.
  2. And this is a deal-breaker - there is no light bounce. Light probes are intended as a global illumination solution, but if those probes are baked using standard rendering with no light bounce - it does very little. It, essentially adds a single light bounce, by virtue of being rendered from a different perspective to the pixel that we plan to shade, but that’s it.

So… I was looking for a raytracing solution that would work well with the rest of my tech. I had a fairly deep look into @gkjohnson 's gpu-path-tracer, and honestly it’s really awesome and I am even more impressed now after having studied the code for a while. But, it doesn’t really suit me for 2 key reasons:

  1. it packs everything in the scene into a texture, this means you have hard limits on how large a scene can be. And this limit is fairly hard, especially on lower-end devices. I didn’t want to accept that limitation, it’s too “hard” of a limitation.
  2. You can’t easily pack spherical harmonic data on the GPU. It can be done, by using render target per coefficient, which requires 9 render target for 3-band harmonic. Not good. Alternatively, you can do multiple passes and write out just the coefficient you’re interested in - this is stupid-wasteful, as you’re essentially throwing away very heavy GPU work. This problem would be solved if we had random writes, but we don’t, this is WebGL, baby :face_with_diagonal_mouth: .

There are a couple of other problems in there, but if the two issues above were solved - I’d go with @gkjohnson 's tech, it’s really good and it saves sooo much time.

Then I though, hold on - I already have a ton of spatial code, raytracing for game queries, multiple BVH implementations - how hard can it be to write your own path tracer from scratch? - turns out pretty hard.

So that’s where I am at right now, writing a path tracer from scratch more or less. I followed some of the old references I used in the past when working on related tech:
smallpt - 100 line C implementation of a path tracer
embree - Intel’s awesome open-source gift to humanity. The code is seriously amazing, well structured, commented and without too much overengineering - so it’s relatively easy to understand and follow

I don’t actually want to write a path-tracer in the sense that most projects aim to. Most projects want to render a scene from perspective of a camera, painting some viewport. I don’t actually need that, I’m going to be tracing rays from a point and collecting a fairly small number of samples to construct SH coefficients. However, I quickly realized that me not having any experience with path tracing or ray-tracing from rendering perspective, I had bugs in my code and no idea where or why.

So I decided to build a small harness on top of the path tracer, to do what I spent a minute just now telling you that I don’t need - writing a viewport renderer. The logic is pretty simple though, when you don’t have a good intuition on what your code is doing - visualizing that work can help a great deal. Human brain has a huge visual cortex, so we can process a very large amount of visual information with ease. Plus I know enough about path tracing to identify various types of issues visually.

Anyway, all that writing, just to be able to show a silly image. Here is the current state:

This is essentially just occlusion, drawn with false colors, I used a color gradient to be able to represent a wider range of values. So for now I got ray bounces sorted out, BVH integration and geometry support. If you look closely - you’ll see segmentation on the spheres - that’s not a bug, the spheres are actually THREE.SphereBufferGeometry, they are just flat shaded.

I noticed that waiting for a render takes a while, and the page basically hangs. Which is not pleasant, so I put the path tracer on meep’s job system, the bar you see at the top of the image is progress until full frame is rendered. Now the main thread is not frozen anymore and I get a reasonable idea about how long to wait. All that for something that’s essentially a one-off debug tool :woman_facepalming:

Is it slow as sin? - yes. Is it my baby? - also yes. Will it provide a good solution to light probe baking? - remains to be seen :mag:

Now I just need to implement support for bdrf and lights. Just. ha.

The idea is to be able to throw this inside a worker and bake probes progressively. Based on some speculative research, ~1000 rays should be sufficient to get decent-looking probes. Right now my tracer runs anywhere between 20k to 200k paths per second on moderately interesting toy scenes. That would let me so 20 to 200 light probes per second essentially.

To me that’s okay. There’s also the option of running this across multiple workers. For comparison, a single light probe bake using cube camera and THREE.js renderer takes whatever 6 frames of your scene rendering take, if you have a game world that’s optimized for 60FPS rendering, that would be around 16*6 = 96 ms assuming you’re not fill-rate bound. It’s actually less if you are fill-rate bound. In my limited experiments with a couple of simple meshes and no shadow - a probe was rendered in ~6ms. So if I can do even 10 probes per second - the approach is already fast-enough to compete with cube-camera approach, which I believe I will be able to do.

For reference, here’s a rendering of lucy (100,000 poly mesh)

it was rendered at ~15k paths per second, which is pretty slow, especially considering that majority of the image is basically empty space. Yeah, there’s a lot of room for improvement.

3 Likes

That’s funny, i thought about a a GI method randomly weeks ago that is quite similar to this :sweat_smile:

1 Like

I’m secretly patiently waiting for @prisoner849 to become inspired by this topic and chalk up a codepen :rofl:

Joking aside, very impressive stuff pulling this off with webgl.

4 Likes

Added some basics for material sampling, and bits for interpolating vertex attributes for a ray hit. Here’s a little preview of the same scene with balls as before, but with material color being respected.
There are 3 large balls towards the center of the image, in case those aren’t very visible.

The surfaces appear smooth now, because we’re reading out vertex normals and interpolating them.

Also, regarding the Lucy rendering. I got had a look under the hood, after sorting BVH nodes for better traversal locality - speed got way better, an order of magnitude pretty much. Went from 15k paths per second to 110k paths.

I’ve been having a lot of fun with this so far :slight_smile:

2 Likes

This is extremly impressive. Great job.

Are you have any plan to release this to the pulic anytime?

1 Like

This will probably not make it to public as open-source. But I do intend to release the engine under a limited license for usage, something like “free for open-source, education and low-profit projects”.

My experience tells me that running an open-source project is not something I’m good at for various reasons.

Overall, the main point of the topic - the light field using light probes, that thing is the goal here. All of the path tracing stuff is in service of that. My goal is to build a complete end-to-end solution that can generate the light field as well as sample said light field inside a shader for global illumination. There are a few problems that need to be solved for that though:

  1. Pick points to place light probes.
    • Can do this on a grid, that’s a good starting point.
    • After you have the grid, there are a lot of spatial-reasoning tricks that can be applied, such as moving “samples” outside of geometry if they are stuck inside thing like walls or trees. Some samples can be rejected if basically nothing changes in that area.
    • We can analyse the grid, or even the tetrahedral mesh to compute gradients across the mesh, then we can add more samples to areas with high degree of change in the gradient. That is - sample more where light changes a lot.
  2. Generate tetrahedral mesh from samples
  3. Bake light probes for each sample
  4. Pack data for sampling in a shader
  5. Search for tetrahedron by world position inside shader, interpolate and sample light contribution.

I’ve done 2, and am working on 3 currently.

Incidentally, I did more work on material sampling. Added support for diffuse textures. Here’s a rendering of a toy house loaded from GLTF

Looking at this it might even be hard to believe that this 100% CPU-side rendering and not just me taking an instance of THREE.WebGLRenderer and fooling you all :slight_smile:

I still need to add lighting support, which is a bit tricky as it turns out, as 2 out of three light in three.js are basically modelled as coming from a point, that is the aptly named PointLight as well as the SpotLight, which is just a restricted version of point for the purposes of sampling.

For those who are reading my walls of text and care about performance - I managed to get around another 2x performance uplift on path tracing by optimizing ray/triangle tests as well as BVH traversal code. I also changed the renderer a bit to traverse the view-port in small 8x8 tiles, which gives much better ray locality and thus better performance. That last bit alone gave ~15% performance improvement.

3 Likes

Spent some more time on the problem. Figured out correct reflection bias, also finally implemented light sampling. Learned that if you have path tracing - directional light looks really really bad compared to sun (disk, basically).


Pretty happy with what I got, I only need diffuse lighting for light probes, so this is enough.

Performance is at a good point too, ~75,000 paths per second, up to 16 bounces. For reference, 10,000 was the target.

3 Likes

well you could say directional light is just light from a point that’s infinitely far away and with no falloff

2 Likes

I had some time over Christmas, so I worked a bit more on this. Here are pretty pictures. First with the light probes, second without:
Sponza:


Here’s one with color bounces clearly visible on the pillars. Spheres are probes being displayed for more clarity.


Indoor test scene:

I used the path tracer mentioned previously to trace only secondary reflections, that is - no direct light contribution. Because I’m using a path tracer and not cube renderer, I get multi-bounce light contribution. That is - even if the probe is inside a building and is around a corner from the nearest light - it still gets light, just like in real life.

Path tracer also turns out to be competitive with the GPU renderer, with all those bounces and tracing ~256 paths, I still end up beating the GPU renderer’s speed, all while getting better quality in the end.

I’m quite happy with the results so far, the bake is typically very fast, with ~2ms per probe, and it’s possible to bake interactively - that is, accumulate rays over-time, so that you get a result pretty much immediately and it only gets better over time. Oh yes, it also supports HDR, that is - total light contribution can go above 1 for each color.

Things I’m still not happy with:

  1. depth sampling. I tried a few tricks to eliminate light bleeding, but nothing worked well so far. I have a few solutions to try still, so I’m pretty confident that it’s solvable.
  2. Looking up tetrahedron takes a long while in the shader. This can be solved with an index of some kind, or by directly storing tetrahedral indices on each geometry vertex.

Overall, this looks like a really solid path towards GI in a browser. It’s each to pre-compute, it’s a proper radiance field and not just a skin as is the case with light maps. And most importantly - it’s cheap to evaluate at runtime.

2 Likes

Spent a bit more time with the problem, discovered a lot of incorrect biases in my code. Here are some new pictures:


There’s no post processing here at all. All is done using light probes only. Even the soft shadows that you see here

I also implemented a very simple lookup structure to help get a good starting point when searching for a tetrahedron in the shader, it seems that we find the right tet in just a couple of hops on average, so FPS is rock-solid now.

There are still light leaks, I’ve read a few more interesting papers on how to deal with them, but so far haven’t had the time to try any of the techniques described.

12 Likes

Found some issues in my path tracer that were losing energy resulting in a dim look, also moved the whole light probe lookup to the fragment shader, which turns out to be very fast as well - who knew? :person_shrugging:

Here are some new pictures. As always, with and without the probes:


Also, started working with visibility term, that is - figuring out if a shaded pixel would be able to see a given probe or not. Here are some results so far.

without visibility check:


with normal-based visibility check

The difference is a bit subtle, you can see a lot less light leakage if you look closely and there are some interesting shading effects


I started baking depth maps as well, but results are not good enough to show yet, here are the maps themselves just for reference:

So far it has been a lot of fun working on this

8 Likes

Really interesting work.

Do you have a demo somewhere or a repo. I’m also working on a probe solution, I tried implementing traytracing / baking solution but gave up and switched to blender for baking.

Hey @gillesboisson ,

I plan to put out a demo in the near future, but I don’t intend to make the code public.

Ray tracing is a pain to get right, mainly because of the basics. You need a robust triangle/ray intersection code, you need various matrix transforms, and not least material sampling. Each thing individually is quite basic, but all of them have to work well, because errors and bugs compound.

For me, offline baking was a deal breaker, as it adds a ton of friction for a user, I wanted it to be an end-to-end solution. Ideally with no setup required, if you want to move the probes - you can, but you don’t have to. If you want to bake offline - you can, but again, it’s a choice and not a requirement.

After having worked on this for a number of months, I can confidently say that it’s a hard problem. Even if you get the mechanics right, performance is an issue.

Here are the bare basics you need for a fully-featured light probe volume solution:

  1. A path tracer
  2. A tetrahedral mesh generator. You can go with a regular grid, but it’s a severe limitation straight off the bat
  3. Shaders

And that’s excluding all of the really cool things, like automatic probe placement, visibility term calculation to avoid leaks, serialization and more.

As a reference, it took me:

  1. ~3 months for a path tracer implementation
  2. ~4 months for a tetrahedral mesh generator
  3. ~2 months for shaders

All the while reading more papers than I care to count. Which is a ton of fun, but it makes the solution largely impractical for an open-source project. You would have to break it down into a number of smaller projects, as the expertise required for each piece are simply too diverse.

That all said, I believe that using blender for baking might be a good idea. You can easily import, and blender has a really performance.

Ideally, you want to bake incrementally at runtime. That is, every frame trace a few rays for a number of probes and aggregate the result. This will give you a dynamic global illumination solution.

If you’re working with WebGPU - it’s possible to do path tracing well entirely on the the GPU. Not to take away from @gkjohnson , but a path tracer on WebGL is an exercise in masochism due to how poorly it supports this use case.

A note on tetrahedral meshes. They suffer from all the same issues as grid meshes in terms of aliasing, but even worse, because you have only 4 points to interpolate instead of 8. But in return you get flexibility to increase/decrease density, as well as only having to sample 4 probes in your shader instead of 8, that’s a pretty big win in terms of memory bandwidth. But again, grids are easy, and tetrahedral meshes are hard. Hard to do and hard to think about.

4 Likes