⛅ volumetric clouds - game ready


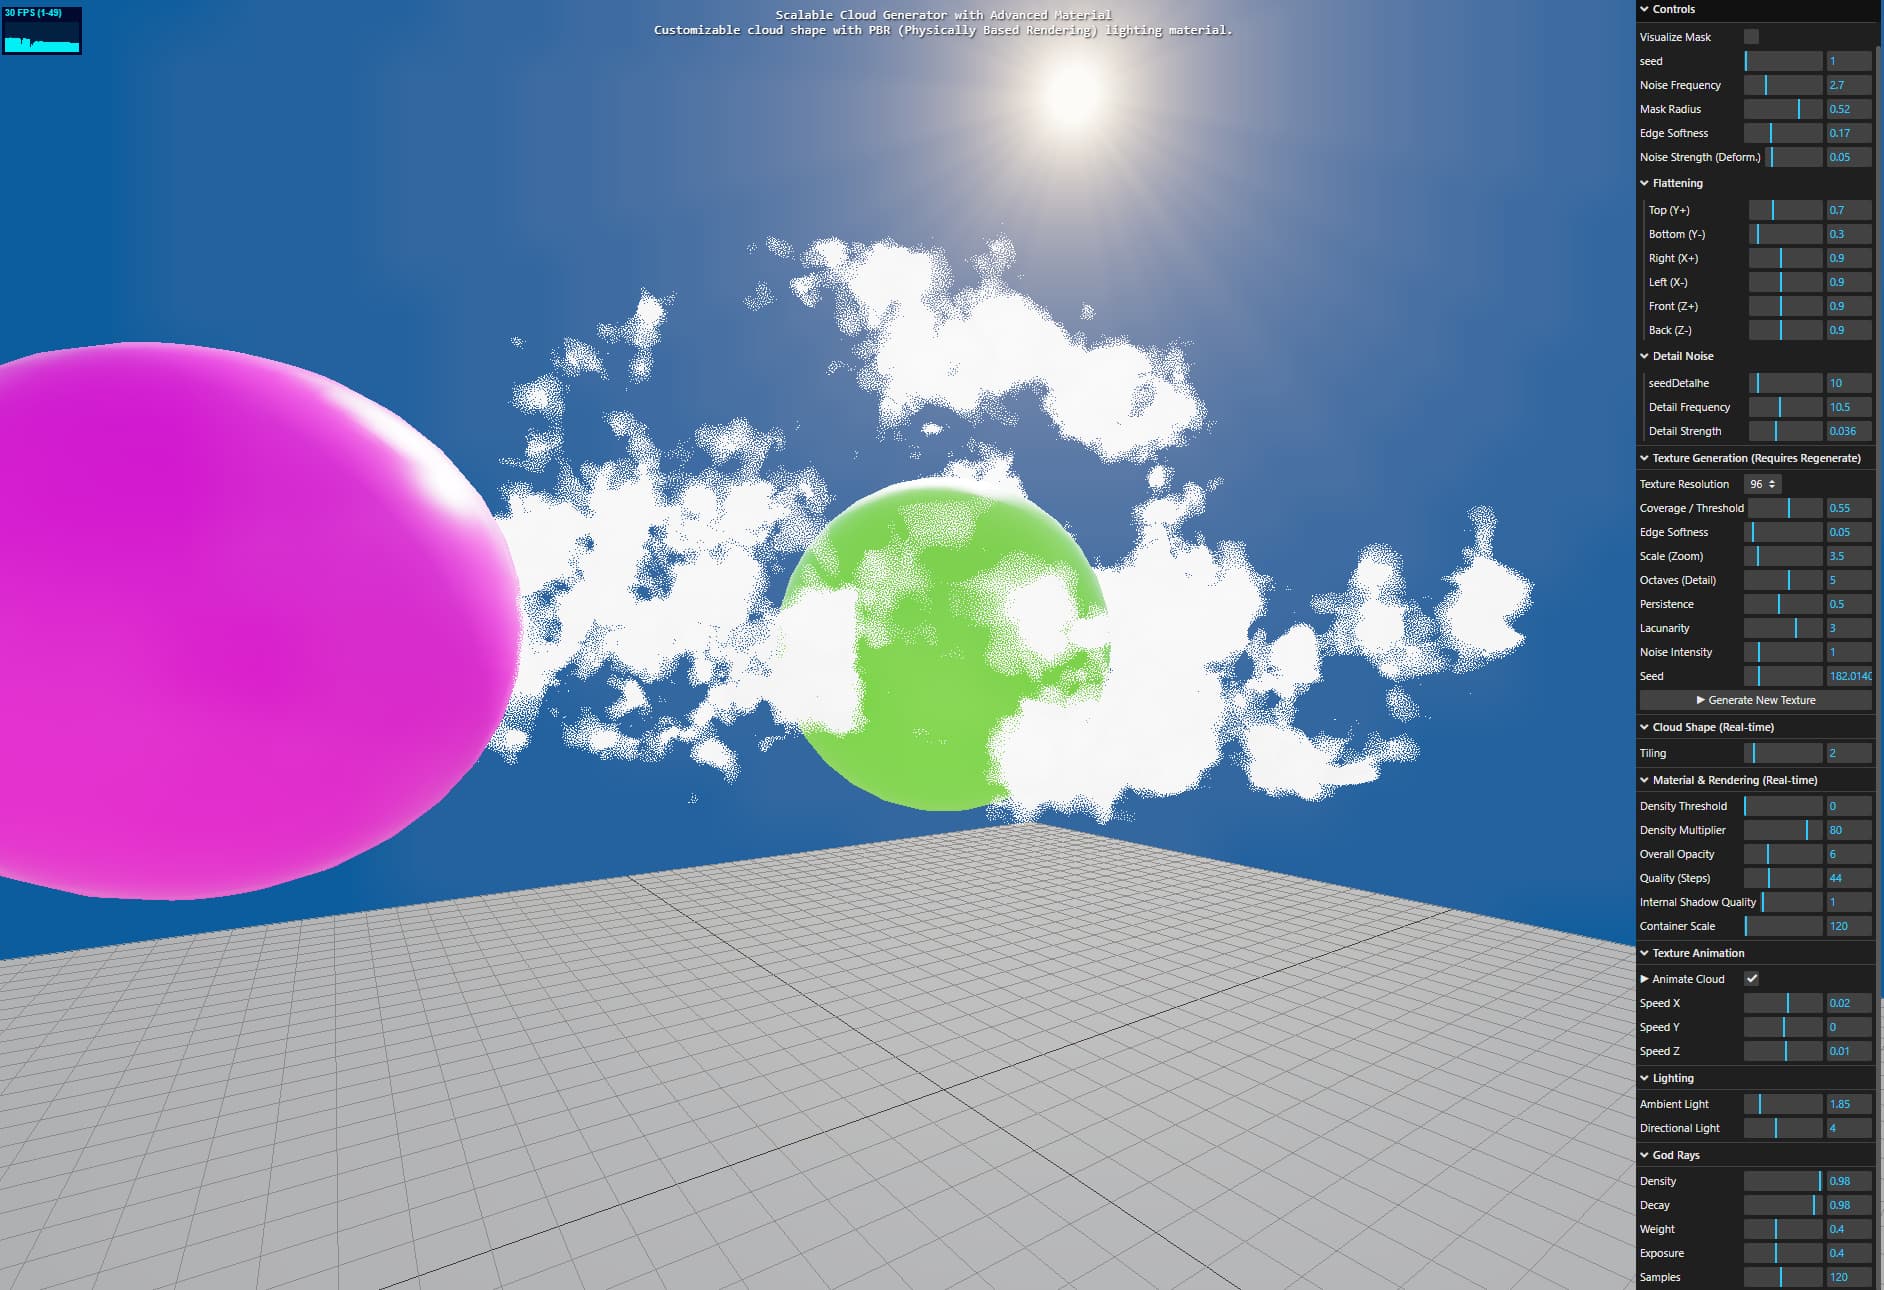
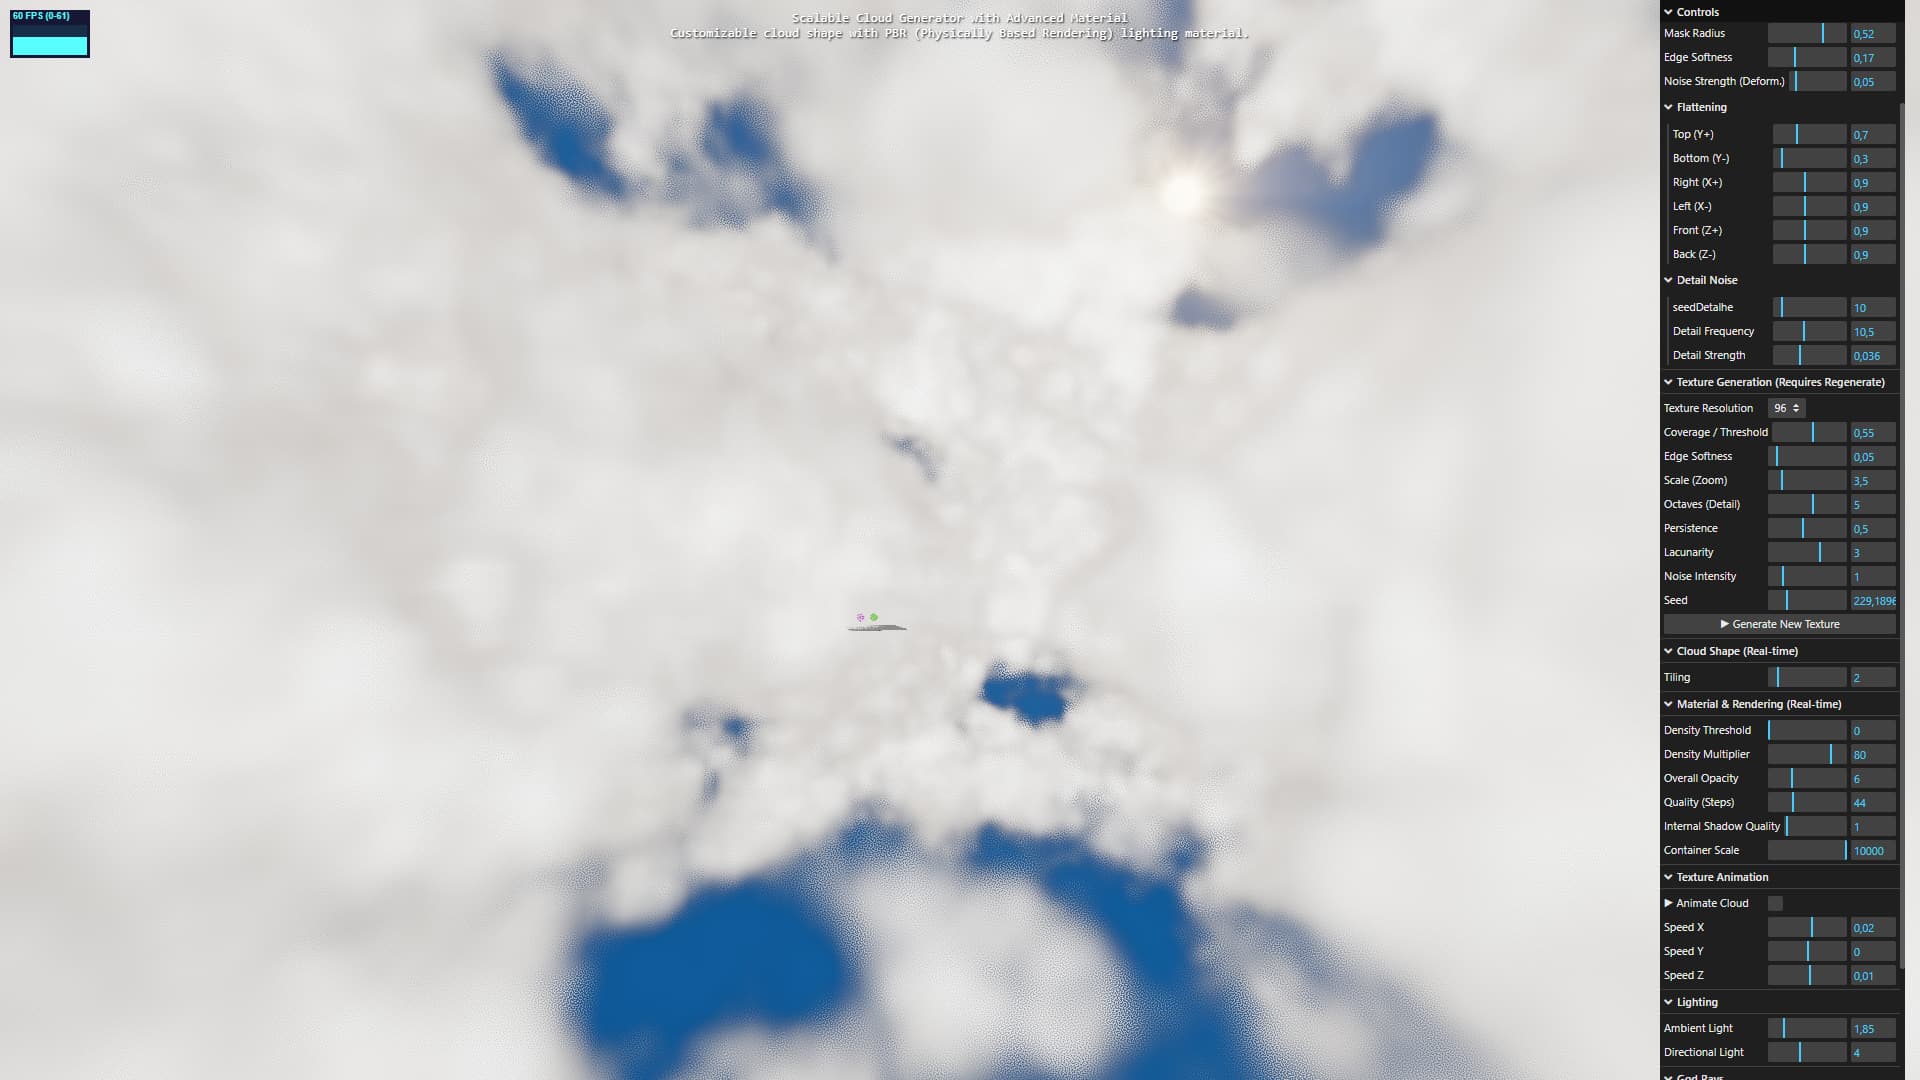
UPDATE: I noticed that in my previous models, the sunlight penetrated the clouds more (see image). I spent a lot of time trying to figure out what was wrong, discussing it with the AI, thinking it was something wrong with the cloud shader. In the end, I discovered that the tone mapping was cutting off the Sun’s lighting effect. So, I updated the code on GitHub: I simply commented out the lines below and adjusted the initial parameters:

// renderer.toneMapping = THREE.ACESFilmicToneMapping;
// renderer.toneMappingExposure = 1.0;

RECOMMENDATION: Since I’m not a programmer, I didn’t properly review the code. My judgment is purely visual: if it looks good visually, I approve it and move forward with development. I recommend reviewing the code because I’m not entirely convinced that these cloud visual effects are faithful to professional standards. The code I presented to the AI to create my program is shown below:


Hello, fellow Three.js developers!

A fully procedural and scalable volumetric cloud generator, built as a single, self-contained HTML file.

This project was developed with the help of AI as a way for me to dive deep into GLSL, ray marching, and advanced rendering techniques. I’m sharing it as a free resource for anyone who wants to learn from it, experiment with it, or adapt the techniques for their own projects.

Live Demo & Source Code


Key Features

  • Procedural 3D Texture Baking: The core cloud density is generated using FBM noise and baked into a 3D texture on the fly. This pre-calculation is key for achieving real-time performance. You can regenerate new cloud shapes directly from the GUI.

  • Volumetric Ray Marching: The cloud is rendered using a ray marching algorithm inside a GLSL shader, simulating light scattering and absorption for a realistic volumetric effect.

  • Customizable Cloud Shape: The overall cloud shape is defined by a deformable spherical mask with two layers of noise. All parameters (flattening, radius, noise strength, etc.) are controllable via the lil-gui panel.

  • Scene Integration & Occlusion: The clouds correctly interact with other solid objects in the scene. A depth pre-pass ensures that the ray marching stops when it hits a solid object, allowing you to fly through and around the cloud realistically.

  • Post-Processing God Rays: Includes a multi-pass post-processing effect to generate crepuscular rays (God Rays) that are realistically occluded by both solid objects and the dense parts of the cloud itself.

  • Self-Contained & Commented: The entire application runs from a single .html file with no external dependencies besides Three.js from a CDN. The code, especially the GLSL shader, is heavily commented in English to explain the process.

How It Works: The Rendering Pipeline

The final image is created through a series of rendering passes:

  1. Depth Pre-Pass: Renders only the solid objects (spheres, ground) to a depth texture.

  2. God Rays Occlusion Pass: Renders a black-and-white mask. The sun is white, and anything that blocks light (solid objects and the cloud volume) is rendered in black.

  3. God Rays Generation: A post-processing shader reads the occlusion mask and generates the light shafts.

  4. Main Scene Pass: The solid objects and the volumetric cloud are rendered. The cloud’s ray marching shader reads the depth texture from Step 1 to handle occlusion correctly.

  5. Final Composite: The God Rays texture is additively blended on top of the main scene render.

This project is for anyone interested in learning more about GLSL shaders, volumetric effects, or advanced rendering pipelines in Three.js.

I hope you find this resource useful! All feedback, questions, and suggestions are welcome.

Happy coding!

– Leonardo Soares Gonçalves

References:

12 Likes

wow this is gorgeous.

1 Like

Excellent program and teaching tool! I especially like how the cloud is slowly changing shape.

Any plans to eventually migrate this to WebGPU WGSL? I don’t think the process would be too horrible and you could make even bigger clouds!

1 Like

Greetings! Thank you so much for the kind words.

To be honest, I’m not a programmer. I’m an amateur, just a genuinely curious person. Some time ago, I saw the hype around “vibecoding” with AI, so I started tinkering to see what I could create with it. During these investigations, the AI introduced me to Three.js.

It turned out I was able to develop a workflow to use the AI to write the code and snippets for me. I even managed to build a complete game with physics using Rapier (I made an anti-gravity floating vehicle) and PeerJS for P2P, where I configured a full mesh network with client-side authority. ( VIBE_WEAVERS - A VibeCode Open Playground P2P Colaborative Game Project )

Since then, whenever I can, I remain interested in computer graphics and continue trying to create things using AI. It’s only been about 6 months since I started “vibecoding” like this (I currently use Google AI Studio - Gemini 2.5 Pro). I can’t write a single line of code on my own. I don’t understand the math in the code, but I do know how to design the systems and understand the processes in a way that allows me to guide the AI to deliver what I need and to “debug” the systems.

Finally, regarding plans to migrate to WebGPU and WGSL, I actually had to ask the AI what that was, lol. I think I’ll try to see if I can do it with my vibecoding approach, as the AI mentioned that WebGPU is well-documented these days. But the truth is, I don’t have the skills or the technical knowledge for such a task. I wish I had more time to learn.

Thank you so much for the question

1 Like

The fact that you have not written a “hello world” program does not mean that you are not a real programmer. Unless AI wrote the entire program for you - which I suspect is not the case - you are officially a programmer.

I have tried to use AI, but would much rather learn from other programmers. And, even if you don’t write another program, your efforts will provide guidance to other programmers, either directly or through AI.

So, congratulations!

2 Likes

Wow! That’s amazing! Thank you so much! I am incredibly happy for your recognition and validation of my work and efforts. Your words are truly encouraging and a great motivation for me.

You’ve touched on a very important point, and it’s a guiding principle for my work: the joint effort towards collective learning.

I started working with AI precisely with the understanding that this collective learning feedback loop exists. I was only able to develop my project because of the vast collective knowledge our community has generated and recorded over the years. It’s an essential part of my process to leverage this knowledge by asking the AI to consult technical literature and specialized forums.

Once again, thank you so much!
I am overjoyed to know that I am truly contributing to our collective learning!
I feel truly rewarded by your words.

2 Likes

Your video looks great but I get 11 FPS on my NVIDIA RTX 2080 (although on Linux/Wayland). Let me know if I can provide any more details to you. I’ve been dying to use some volumetric clouds in my stuff & I’d love to help if I can. Thanks.

1 Like

Sure, please provide more details, let’s investigate. But it’s strange because my card is a GTX 1060 with 6GB of VRAM, and that’s what I used for the video, running smoothly at 60 FPS.

This is a great project, however, after tinkering some time with the controls I just can’t get that soft cloud look like you have in your screenshots, mine always looks like this (notice the grainy look as opposed to the soft look)… Which parameter is supposed to give the soft feel?

2 Likes

Hmm, if you had a screenshot of the parameters, it would be better for us to analyze. When I lose track, I just reset the application. It’s delicate like that; sometimes we lose track. The graininess is normal, it’s bluenoise jittering to mitigate banding from the raymarching steps. If you increase the raymarching steps, the graininess improves, but performance decreases.
If you changed the hardcode there, it’s better to start over with the original reference code.

I don’t seem to have any raymarching steps? Alas, here is a screenshot of my settings (it’s the default when I load the page):

Hmm. Yeah, it’s on the default settings. Today I made a change to the GitHub index; I just adjusted the asset paths. It’s loading fine for me. But when you tweak the parameters, do they respond? Does the cloud change its appearance normally when you adjust them?
Try clearing your browser cache. Try other browsers. Or try downloading the program and running it locally.

I made an update. Please check the original post.

I’m on Wayland / KDE Plasma on Arch btw. After enabling “unsafe” WebGPU the framerate has improved to average around 20fps at the default camera distance to origin (which I’m mentioning since the framerate in this demo is pixel-bound). So, a large improvement, but still not 60fps. I could potentially try running with Vulkan (currently disabled), but I’m not sure how much that would matter.

Edit: I attempted to enable Vulkan explicitly and set it as default, but it would not actually show up as enabled in ://flags. --use-vulkan also didn’t help.

I’d be curious if anyone with a deeper knowledge than my perfunctory knowledge might know why this demo runs at 20fps for me with these settings and a NVIDIA RTX 2080 on Wayland. Thanks.

It still needs some work since there does not seem to be any shading. Parts facing the sun should be lighter and those facing away from sun should be darker. A cloud with a loose structure (like your default), will have some some internal shading.