Today we’re going to answer the question
What are bent normals?
It’s a confusing topic, and there’s sparse information available, so I thought I’d offer some insight.
To help me demonstrate the concept, I will be using Sponza scene as a reference

First, let’s step back and answer a question of what do we mean by “normal”.
A normal is the “surface normal” vector, it’s the direction that defines “front” of the surface.

We cheat in graphics, and we add “shading” detail to surfaces that isn’t there using normal maps, here’s one for the lion’s head at the back as an illustration

Shade (my graphics engine) is a deferred renderer, so are most AAA graphics engines out there. One of the major reasons is that you need a g-buffer for most of the post-processing stack anyway, so you might as well go full deferred.
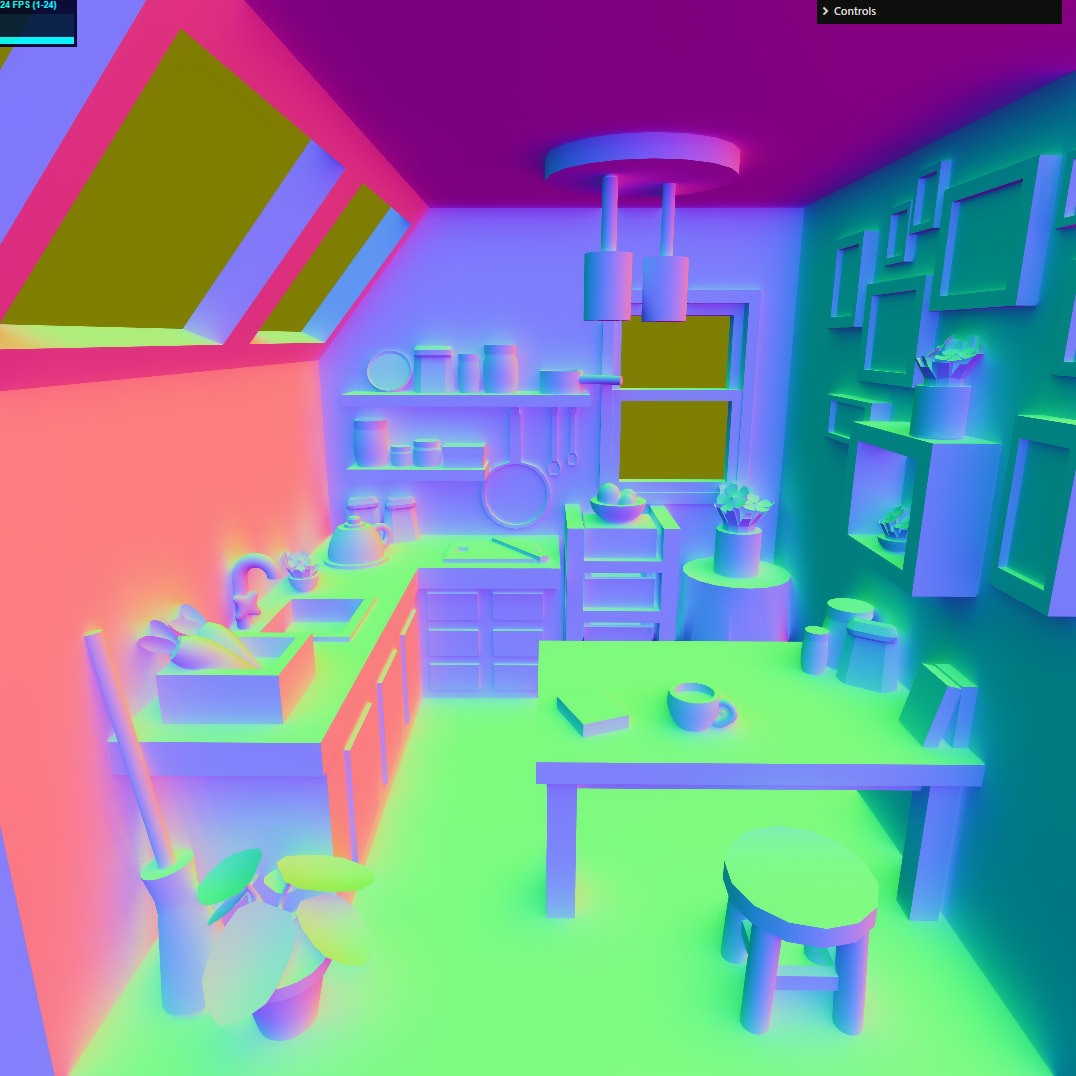
As a result, we have normals for each frame, here’s the same Sponza shot, but visualizing just the shading normals

It’s a bit strange perhaps, because my normals are world-space normals. But I promise it makes sense. The normals are encoded as RGB, so red surfaces are facing +X direction, Green surfaces are +Y and blue surface are +Z, hopefully it makes more sense now.
Now, back to getting bent. When we sample our environment map, or any other kind of global illumination source, we use surface normal to answer the question
“which direction does light arrive from to this point?”
And if you imagine a situation like this

We have 2 adjecent surface A and B forming a corner, with normals Na and Nb. The problem is that corner, if we zoom way in and imagine the very adjacent pixels in the corner:

You can see that the sampling direction on surface A is (1, 0, 0) and on B it’s (0, 1, 0)
If we consider the angle between these two directions, it’s 90 degrees, that sounds fine, but what it means in practice is that that corner pixel on A will be sampling, say, the horizon, so trees and grass and bushes and such from your environment map, while the surface B will be sampling the sky directly overhead. The brightness of these is very different, so are the colors.
In reality, light, especially on rough surfaces, will never behave like that. Instead of a sharp transition like we saw above

We actually will observe something more like this


And this very observation is what bent normals are all about. We calculate normals that “bend” towards the least occluded direction.
And here’s what that looks like in practice:

Here’s another scene with more obvious differences, first the shading normals:

And bent normals
I briefly mentioned bent normals before, in my article on SSGI. The bent normals should generally only be used to sample global illumination and only for diffuse lighting. But it does create an appreciable difference in the resulting image. Here’s just the diffuse GI, first with standard shading normals:

And now with bent normals

It softens the image up a bit, and gives it a more natural look. Corners that previously looked unnaturally sharp, now look more grounded.
The standard technique for calculating bent normals is to do it in your SSAO pass, as you typically already track the least occluded normal in there, and if you don’t - it’s trivial to add that code.
With all that - I believe it’s a very valuable addition to any renderer.
TL;RD;
Bent normals should be used for sampling diffuse global illumination instead of the shading normals.

