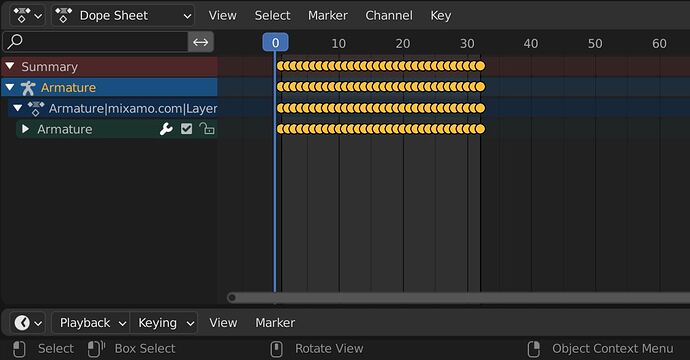
So I notice that a lot of my three.js animations have a slight ‘hiccup’ at the end when they are being looped. I suspect that this may be because I don’t understand how to create animation loops properly.
Working in Blender, there are a couple of odd things. First, Blender’s timeline defaults to starting at frame 1 rather than frame 0. Second, animations have no explicit ‘end’ marker - the length of the animation is merely the interval between the first and last keyframe. You can of course set start and end in the timeline window, but that is a global setting which applies to all animations.
Moreover, it appears that the start and end keyframes are inclusive rather than exclusive or half-open: if I play an animation from frames 1-10, that’s a total of 10 frames, not nine. However, I don’t know whether three.js will end on frame 9 or on frame 10.
Let’s say that I want to do a walk cycle that is 10 frames long, starting on frame 1, and I want to play that back using the AnimationMixer. Let’s also say that I want the last frame of the animation to be the same as the first frame, so that it loops cleanly. Does that mean I need to paste the frame-1 keyframes on frame 10? Or frame 11? If frames are dimensionless points, I would think it would be 11, but if frames have a duration then I would think it would be 10 - it’s the classic fence-post problem, do you count the number of posts, or the number of rails connecting the posts?
Some documentation on the behavior of Animation mixer would go a long way towards clearing this up.
One thing I have learned that helps is to set Blender’s frame rate to 60fps rather than the default 24fps. Although the animation will be smoothly interpolated either way, editing character movement is cumbersome when you can only advance the time in units of 41 milliseconds rather than 16 milliseconds. And any game worth it’s salt is going to run at a minimum of 60fps. (My day job is working with folks who make theatre-quality movies using CGI, where it typically takes hours to render a frame - I keep telling them that in the games industry, if it takes more than 16ms to render, that’s a bug.)

